Every time I want to start writing something about Spring Boot I realize that it will exceed any normal post size if I start describing all the steps in order to build the application from the scratch up to the point where the topic of my interest is. So finally I came up with the idea of making a demo application as a starting point for my upcoming posts. This way you will also have the opportunity to develop your Spring skills gradually and we will be on the same footing to start from, when building other applications. By referring to this post in future I will put myself at ease and overcome the filling of guilt that I skipped some steps.
So we start by creating a new maven project on eclipse. Go to File > New > other... and in the opened dialog box type Maven Project.
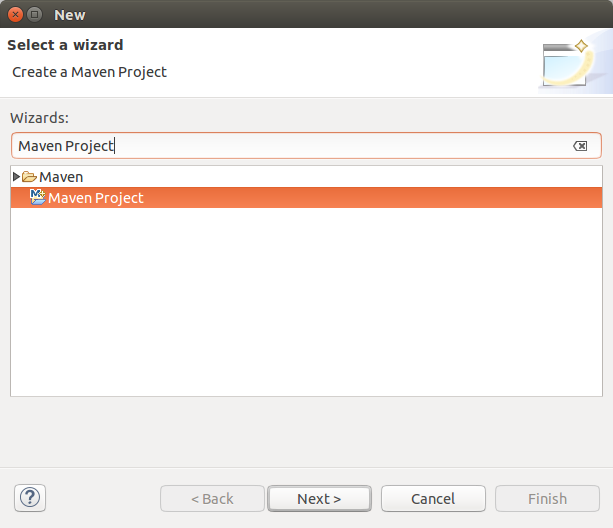
Select it and click Next. In the next dialog box select the "Create a simple project (skip archetype selection)" option and click next again.
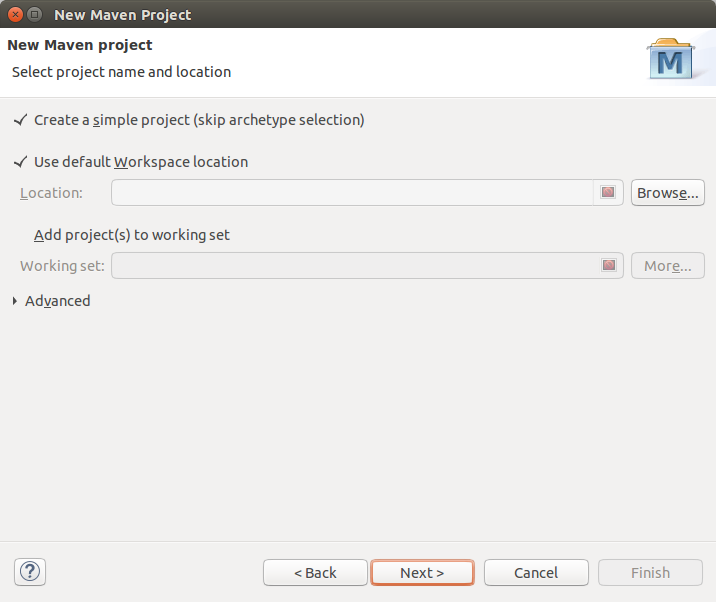
After clicking Next the next dialog box appears which I filled in the following way
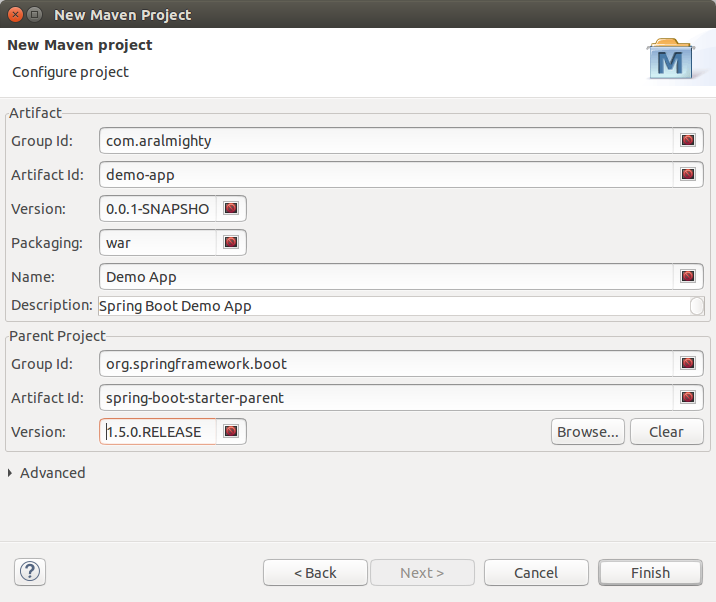
Click finish. The demo-app project must appear in the Project Explorer. Now right-click on src/main/java and create a new com.aralmighty.App class containing the main method.
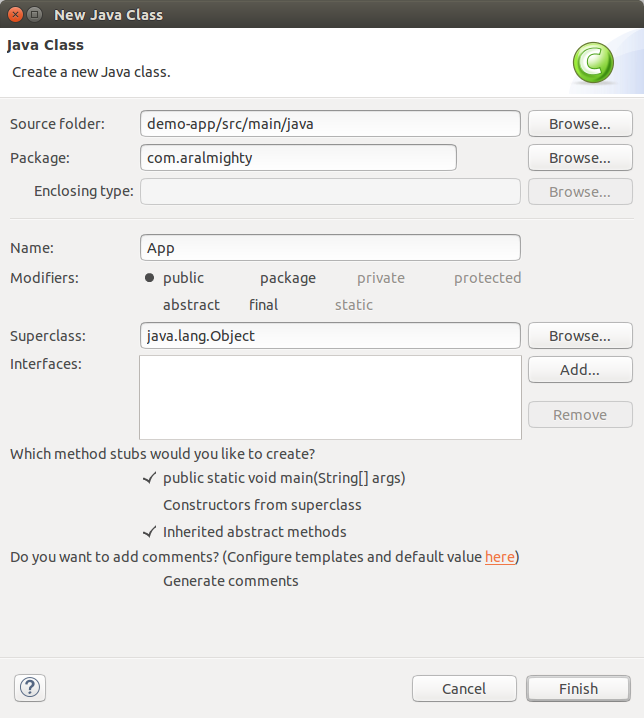
Click "Finish" to create the App class. But before we jump headlong into editing the App class we just created, we have to add "spring-boot-starter-web" maven dependency into our pom.xml. Click on pom.xml file, then select the "Dependency" tab underneath and click add. The dialog box shows up. Type "spring-boot-starter-web"

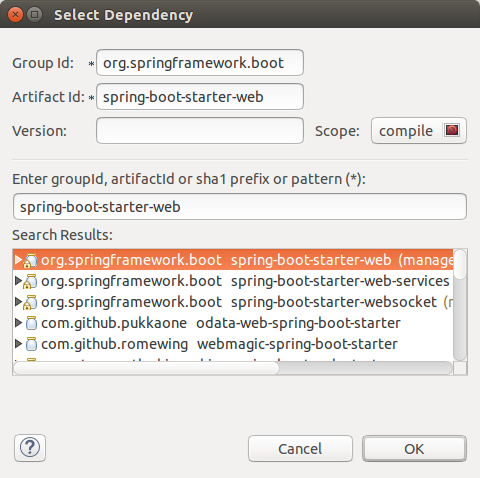
Click OK and then do not forget to save the pom.xml file by Ctrl+S key combination.
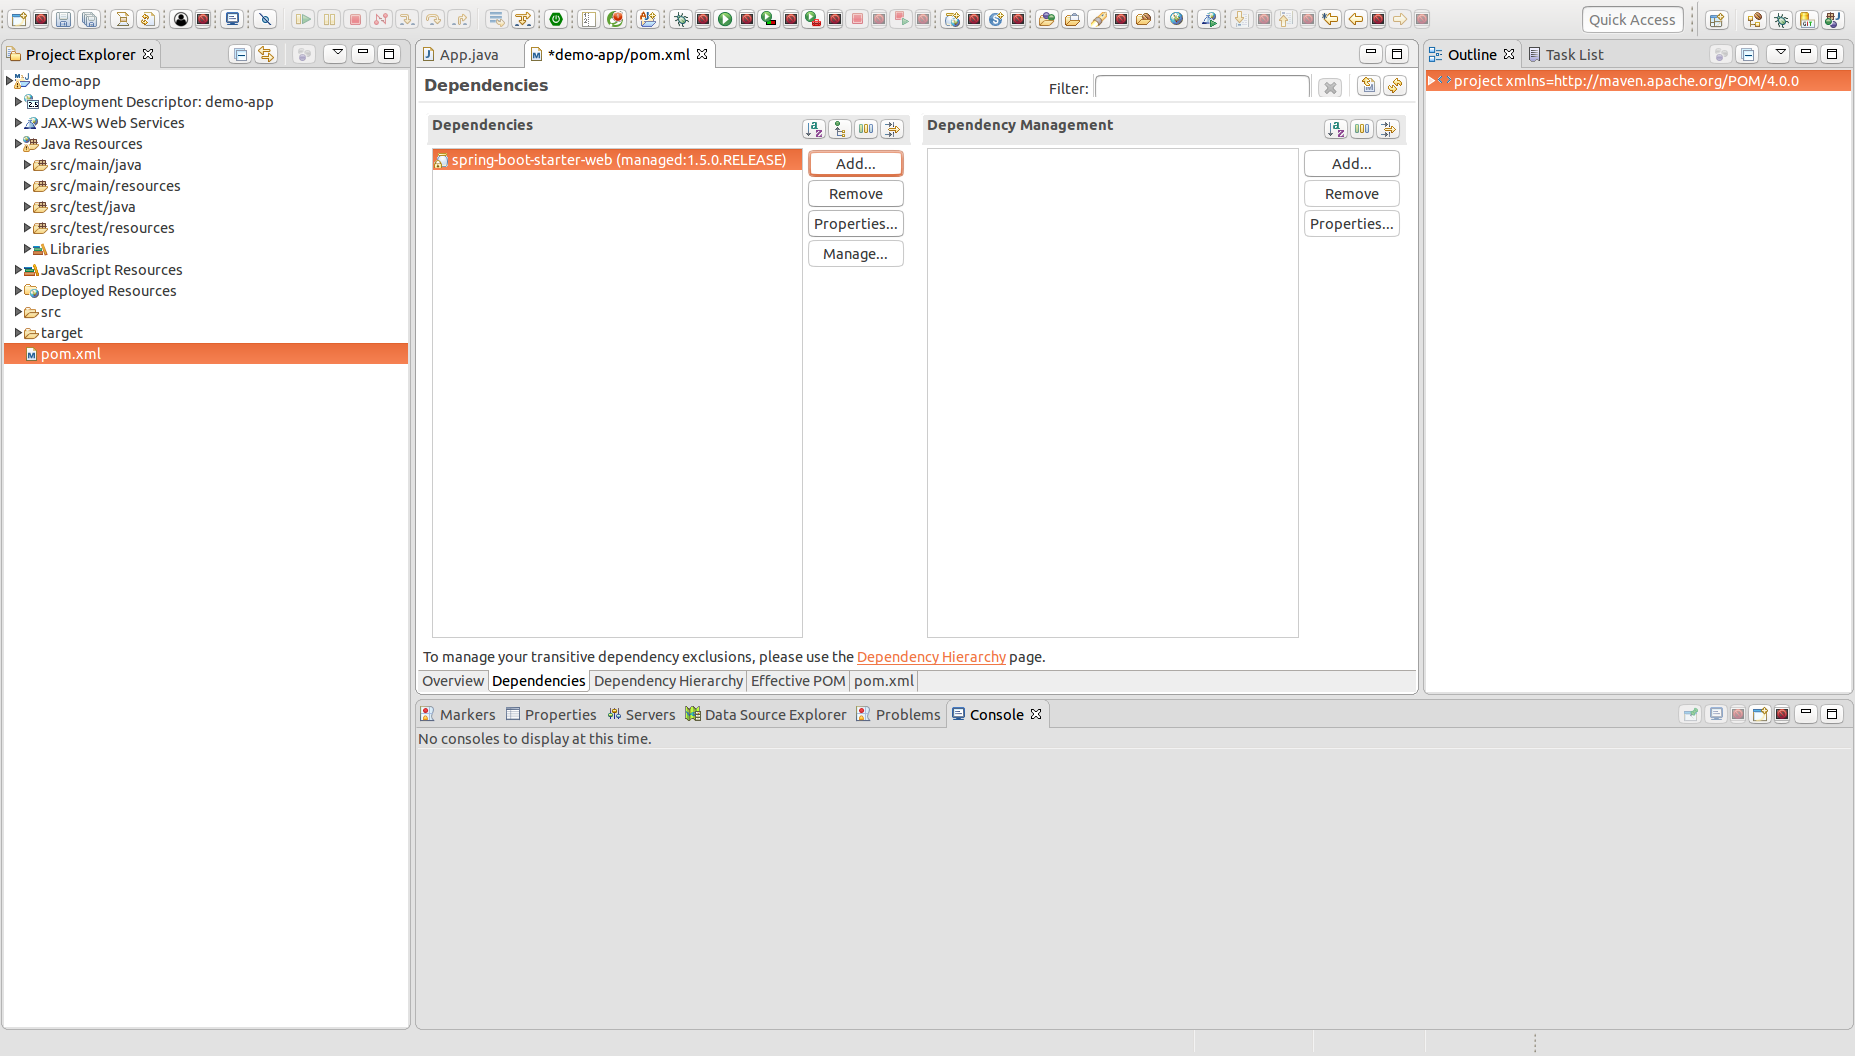
Now we are ready to edit the App class.
package com.aralmighty;

import org.springframework.boot.SpringApplication;
import org.springframework.boot.autoconfigure.SpringBootApplication;

@SpringBootApplication
public class App {

  public static void main(String[] args) {
     SpringApplication.run(App.class, args);
  }
}
Perhaps, we would want to have a HomeController class. Right-click on com.aralmighty package and create a new class.
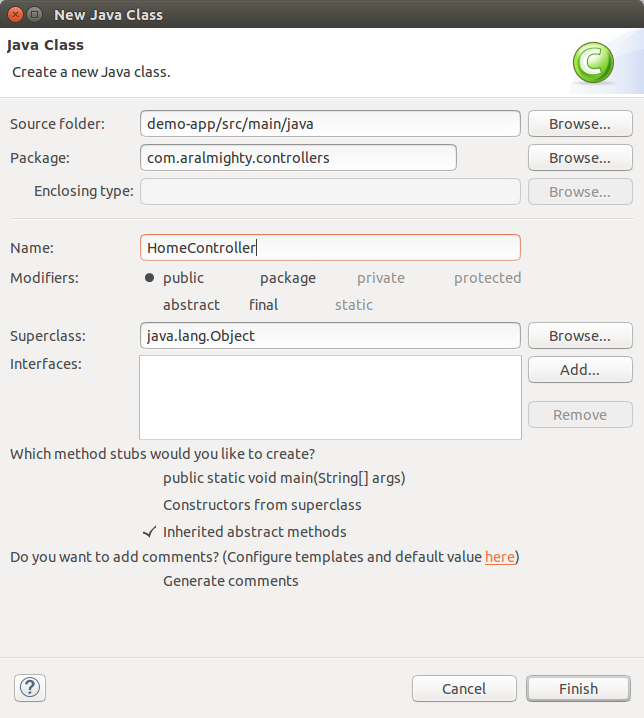
This is going to be a single page application, so for the moment, we just make a "home" controller-method for the home page that is going to be accessible on localhost:8080/.
package com.aralmighty.controllers;

import org.springframework.stereotype.Controller;
import org.springframework.web.bind.annotation.RequestMapping;

@Controller
public class HomeController {

  @RequestMapping("/")
  String home() {
    return "home";
  }

}
The "home" returned string is the jsp file name we are going to create now. We are going to create it inside WEB-INF folder from where the files are not publicly accessible. Right-click on /demo-app/src/main/webapp and create the WEB-INF folder. Then create a new home.jsp file inside WEB-INF folder. Write some dummy "hello world" message inside the body tag of home.jsp to test it later. We still have two more things to do in order to test the application. First, we must tell our application where to find the home.jsp file. There are many ways we can accomplish this task. We could have used Apache Tiles if we had some fancy layout, but here we keep it simple. Just right-click on /demo-app/src/main/resources folder and create the application.properties configuration file. Then edit it in the following way.
spring.mvc.view.prefix=/WEB-INF/
spring.mvc.view.suffix=.jsp
This way we tell our application where to find the home.jsp file by just returning the file name as a string inside the controller method. Now the only thing left before we test our "hello world" is the "tomcat-embed-jasper" maven dependency that we have to add in our pom.xml. You can do it through interface like we did it for "spring-boot-starter-web" or just add it by hand. I think it's the right moment to add also the "jstl" dependency from "javax.servlet", because most likely we will use it in almost all the future posts. The JavaServer Pages Standard Tag Library (JSTL) is a component of the Java EE Web application development platform. It extends the JSP specification by adding a tag library of JSP tags for common tasks. The pom.xml file now looks like
<project xmlns="http://maven.apache.org/POM/4.0.0" xmlns:xsi="http://www.w3.org/2001/XMLSchema-instance" xsi:schemaLocation="http://maven.apache.org/POM/4.0.0 http://maven.apache.org/xsd/maven-4.0.0.xsd">
  <modelVersion>4.0.0</modelVersion>
  <parent>
    <groupId>org.springframework.boot</groupId>
    <artifactId>spring-boot-starter-parent</artifactId>
    <version>1.5.0.RELEASE</version>
  </parent>
  <groupId>com.aralmighty</groupId>
  <artifactId>demo-app</artifactId>
  <version>0.0.1-SNAPSHOT</version>
  <packaging>war</packaging>
  <name>Demo App</name>
  <description>Spring Boot Demo App</description>
  <dependencies>
  	<dependency>
  		<groupId>org.springframework.boot</groupId>
  		<artifactId>spring-boot-starter-web</artifactId>
  	</dependency>
  	<dependency>
  		<groupId>org.apache.tomcat.embed</groupId>
  		<artifactId>tomcat-embed-jasper</artifactId>
  	</dependency>
  	<dependency>
  		<groupId>javax.servlet</groupId>
  		<artifactId>jstl</artifactId>
  	</dependency>
  </dependencies>
</project>
The "tomcat-embed-jasper" maven dependency allows us to run our application on embedded tomcat without deploying our app on any external server. Save pom.xml and close it. Now it would be a good idea to test our app. Right-click on App.java file and then choose to "Run As" > "Java Application". After what you can visit your test page on localhost:8080/. If you see your "hello world" message, then please accept my congratulations.
- Log in or register to post comments
